Wednesday, May 11, 2011

Gluten Free - Coconut Cinnamon Rolls

Awhile back I made something similar to these tasty treats, but there was a missing element out of the whole equation.  Mind you we were in the middle of a kitchen remodel and had no use of our appliances, in hindsight that may have had something to do with the lackluster finished product.  Regardless, I tweaked the recipe this time.  Originally, I use the standard pastry dough recipe from the Babycakes Covers the Classics cookbook by Erin McKenna.  This time around I used parts of that recipe, plus one of my moms old cookbooks, plus a little guess work - I'm good at making things up as I go.  Ha!  Yeast is the main difference though, making this beautiful dough all the more delightful.

This recipe is a bit time consuming, and it would help your end results if you know your way around the kitchen fairly well.  But you have to start somewhere.  I will break the recipe down so it is a bit easier to follow.   So roll up your sleeves, wash your hands, don an apron and get to baking!

PART ONE.  The Dough.
________________
(DRY INGREDIENTS)

1 1/4 cups -- Bob's Red Mill All-Purpose Flour
1 cup -- rice flour (I used white rice flour - Bob's brand)
1/4 cup -- arrowroot starch
1 3/4 teaspoon -- xanthan gum
1 Tablespoon -- baking powder
2 teaspoons -- ground cinnamon
1 3/4 teaspoon -- active dry yeast (heads up - don't use the kind specifically for bread machines)

(LIQUID INGREDIENTS)

1/4 cup -- melted butter/crisco or oil (I used butter flavored Crisco - don't ask why, it worked well though)
1/3 cup -- agave nectar
1 teaspoon -- vanilla
1 cup -- water/milk (I used 1/2 cup water, 1/2 cup milk.  Just because I can...)
_____________________________________________

In a mixing bowl - whisk together all of the dry ingredients EXCEPT THE YEAST.  Reserve half of the flour combo in a separate bowl and set aside.  Put the yeast in the flour combo that is in the mixing bowl.

Combine all of the liquid ingredients in a large measuring cup and microwave until temperature reaches between 120-130 degrees.  If you don't have a thermometer, I suggest getting one.  They're super handy to have around.  Ours is part timer/part thermometer.  You just plug the thermometer attachment into the timer and place the probe into the liquid.  Moving on.

Once your mixture has reached temperature, turn your stand mixer on Low Speed.  Gradually, pour the warm liquid into the yeast/flour combo.
Turn the mixer to Medium Speed and continue beating for 2 minutes.  While still on Medium Speed, pour the remaining flour combo into the mixer and beat for approx. one minute more.  Scrape the sides down with a rubber spatula if needed.

PART TWO - Kneading and Rising
_____________________________

Okay, this part is a little tricky to try and write out, but bear with me.

Sprinkle a liberal amount of rice flour on a rolling mat.  Scrape the dough onto the mat and sprinkle more rice flour over the sticky dough.  Flour your hands, work dough into a ball and knead.  The dough is sticky, so it makes the kneading process a bit complicated.  Just keep adding a bit more flour until it's workable.  I didn't knead mine for very long, though.  Reshape into a ball.

Grease the bottom and sides of a rising bowl.  If you don't have have one (buy one!) you can use a very large bowl or an old plastic ice cream bucket.
Our rising bowl looks something like
this with a lid.
Place the dough ball in the greased bowl and cover with the lid or plastic wrap.  Place the bowl in a warm area until the dough rises - it should double in size.  This will take approx. 1 hour.

I like set my bowl in the garage (the dough is covered, so - who cares?!) - the air is warm and humid in our garage, so the dough rises really well.
______________________________
During this down time, I like to clean up my mess - this way clean up time at the end is minimal.
______________________________


PART THREE - Filling, Rolling, Slicing and Baking
____________________
Preheat your oven to 400 degrees.
                    
You can use regular sugar if you want, but I prefer using Florida Crystals.  It is minimally refined sugar, that still has its nutrients in it.  I love it because it caramelizes WONDERFULLY during baking.  The results yielded make it truly worth it.  But, it is a pricy item, so it is alright to use regular sugar.

1 3/4 - 2 cups -- Florida Crystals (or reg. sugar)
3 Tablespoons -- Cinnamon (approximately - you be the judge!)
Whisk together and set aside.

After your dough is finished rising, punch your fist through the ball - releasing the air.  Pour onto the rolling mat that is covered with more rice flour.  Roll the dough out in a rectangle until it is about 1/4 inch thick.

Melt 1/4 cup butter and using pastry brush, brush over the top of the entire rolled out dough.  Sprinkle the cinnamon/sugar over the melted butter until the entire top is covered.  Spread unsweetened dry coconut flakes on top of the cinnamon and butter covered dough.

Starting with one of the short ends of your rectangle, roll the entire dough into a "log" shape.  Using a sharp butcher knife, slice the log into 1 inch pieces.

Place the newly cut, individual rolls face up in a greased pan/s.
___________
HINT - Each end piece of your "log" is usually lacking in internal yummy gooyness.  So, before baking I like to take a spoonful of butter and mix it with a little bit of sugar/cinnamon and coconut.  Then I put one dollop into the hollow middle of each end piece.  When it bakes, it oozes and caramelizes into a roll of mouthwatering bliss.  Trust me.  It is So. Good.
___________

Cover the pan/s of rolls with plastic wrap and place back in your warm area to rise for another 15 minutes.

Place the pan/s of rolls in the oven and bake for 15 minutes, or until the tops turn golden brown.

You can eat straightaway or drizzle with glaze.  I am not ashamed to admit that I ate 3 of these puppies in one seating.  I have yet to buy or make bread that has the sort of fluffiness gluten-filled bread is famous for, until now that is!  This dough is SO good.  I cried.  And there may have been singing and dancing involved (just trying to burn off my calories, ya know).

It may seem like a doozy to take on, but trust me!  It is worth the effort!

As an added bonus, here is a recipe for glaze.

1 1/2 cups -- powdered sugar
3-5 Tablespoons -- hot milk (start off with 3, add more to your desired consistency).
1 teaspoon -- grapeseed oil (you can use a different oil if you want - I prefer grapeseed because it's super healthy.  The oil helps the glaze retain its "smoothness".)


And that my friends is all.  Lets get fat together, shall we?

Rachel

Wednesday, April 6, 2011

Gluten Free "Donuts"

Last year, while on vacation with my family I bought a special pan at Williams-Sonoma to make 'Ebelskivers'.  An ebelskiver is basically a filled pancake, I soon discovered.  I thought it might be a fun addition to our bakeware, but I really hadn't used it much since!  A few weeks ago I was browsing through our kitchen cabinets and found my nifty, relatively new skillet.  Not really knowing what to make, I grabbed some basic ingredients from our pantry and made up the rest as I went!  The following is the result of that creative, albeit messy, afternoon.

Tools and Ingredients necessary-

-An ebelskiver pan.  You might be able to get by using something else if you don't want to splurge for one of these neat pans.
-pancake mix - oil (I LOVE grapeseed oil) - an egg - milk - arrowroot flour/starch - cinnamon sugar - maple extract - powdered sugar - butter - fruit preserves/jam.

Step One:  For the base of the 'donut' I used Bisquick's Gluten Free pancake mix.  I followed the directions on the box - BUT - I added one ingredient that completely changed the texture of the final product.  The secret ingredient?  Arrowroot flour/starch.  This stuff is a miracle worker for gluten free baked goods.  I've used the Bisquick mix before but I never used it again because the pancakes crumbled horribly.  And who really wants to eat crumbly pancakes?  Not this girl!  Gluten is what binds most baked goods together.   As many of you gluten-free'ers know, it is a bit difficult to get GF baked goods to turn out right.  The arrowroot flour made it a wonderful, moist consistency.  As I said, it is a small miracle in the form of a flour-y starch.

To be completely honest, while experimenting I never measure my ingredients!  I know, I'm sorry.  That makes it a bit difficult to write an instructional blog on.  I always approximate.  But, I would say I used about 1/4 c of arrowroot flour (maybe a bit less, though).  And I only put enough milk in to make the batter the consistency of warm pudding.  Ha!  Great directions, huh?
 In short, you don't want the batter too thick or it will be harder to bake all the way through.


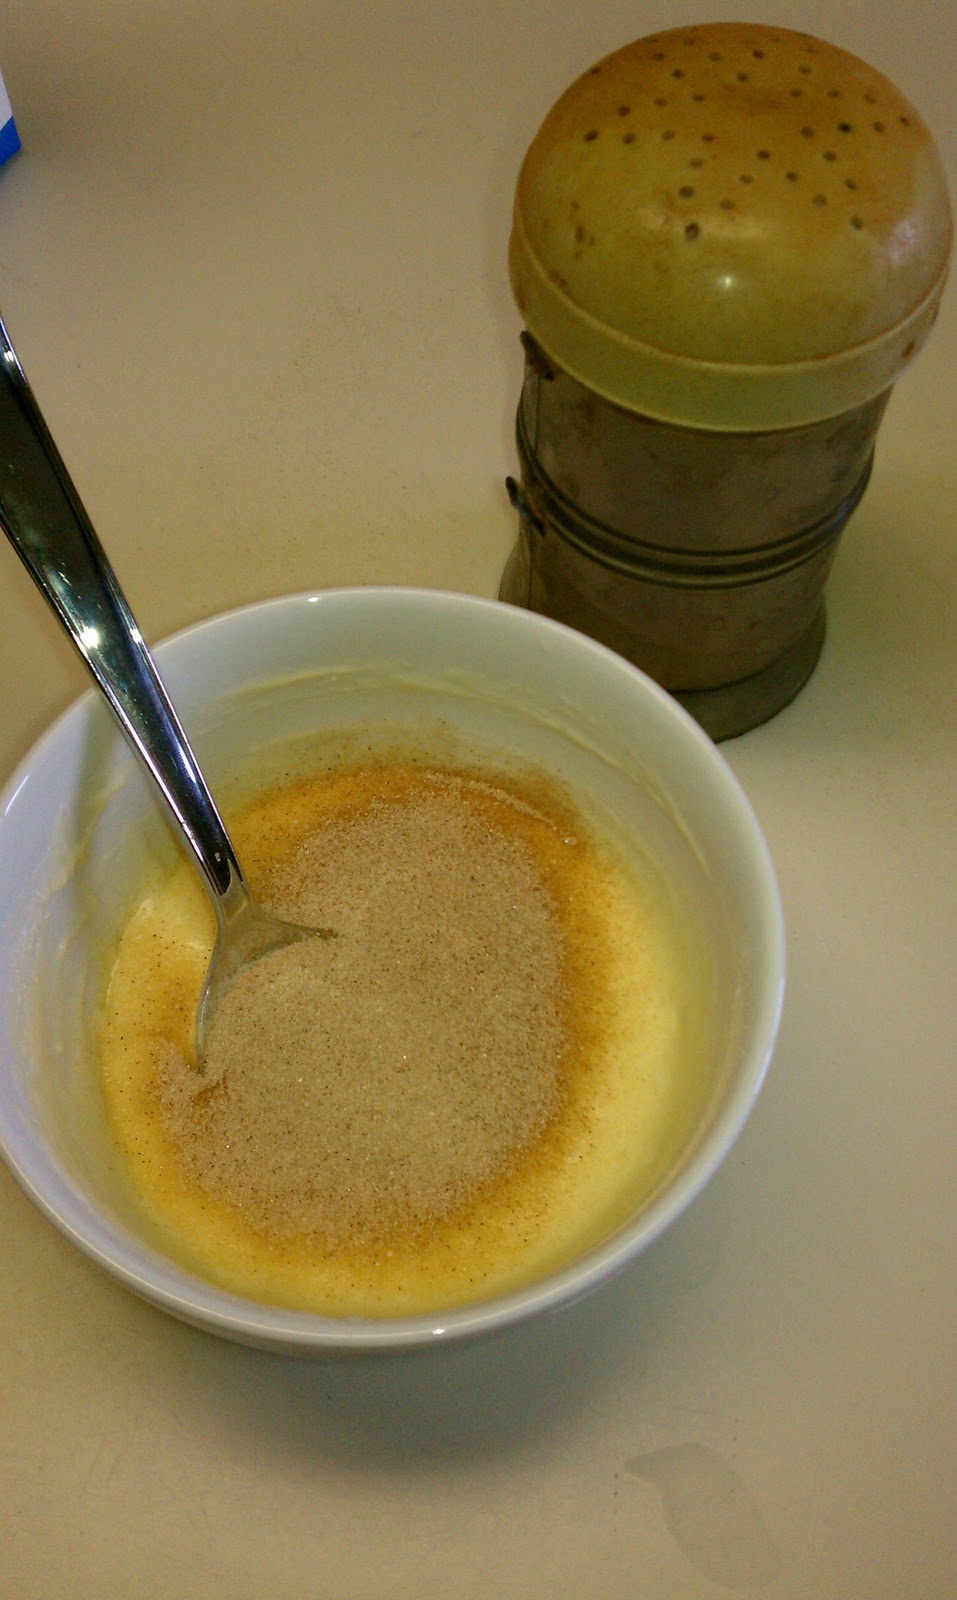
After the pancake batter is made, I shake some cinnamon-sugar into the batter and mix in.  I absolutely love cinnamon-sugar, and adding it to the mix makes these taste even more "donut'y".

Step Two:  I put my ebelskiver pan on the stove over medium-low heat.  Cooking at a lower temp for a longer period of time will help to ensure thorough baking!  I put a small scoop of butter into each little 'well' in the pan.  This "fries" the batter somewhat, creating even more of a donut illusion.  My favorite dairy free butter is made by Earth Balance.  It actually tastes like real butter.  My mother dared me to eat a spoonful of it, just to be sure, but I declined.  I haven't eaten butter by the spoonful since I was 5.

A useful tool during this process is a small cookie dough scooper.  It helps keep your donuts relatively the same size.  It also keeps everything neat and tidy; no spilling batter all over your pan!  Weird as it sounds, I hate cleaning up batter that has dripped on the top of the skillet.  Don't ask me why, it just yanks my chain.
As you can see from the picture, I also use two spoons with long stems.  They are the perfect size for scooping preserves AND for flipping the donuts in the pan.

Filled Donuts-
Put your little scoops of butter into each section of the pan.
Put a small scoop of batter into the wells of the pan.
Immediately put a tiny dollop of preserves/jam on top of the batter.
Let sizzle for a minute.
Cover each donut with the remaining batter, make sure all the filling is covered.
Let cook for around 10-15 sec until bubbles start forming on the tops of the donut.
Using two spoons, flip each donut in the pan.  It is tricky at first, but after doing it over and over, you'll get the hang of it!
Leave donuts cooking in the skillet until all the sides have darkened.
Place onto a plate/serving dish and let cool for 5-10 minutes.
Dust the tops with powdered sugar and enjoy!


Maple/Chocolate Donuts- These are my personal favorite.  I've actually dreamed about these donuts.  And I wrote a love sonnet dedicated to them, as well.  Totally kidding.  Maybe.

Put scoops of the pancake batter into each, liberally buttered well of the pan.  The batter should come just shy of reaching the top of the well.
I sprinkle the tops with cinnamon-sugar. Why not, right?
When bubbles start forming on the top of the donut, you know it is time to flip.
As I said for the filled donuts, make sure that all the sides look darkened and thoroughly cooked.  The tops should be fairly hard.  I always tap them with my spoon to make sure it is done enough.
Remove from the skillet and place on a plate.

Immediately cover with maple frosting.  It will melt and drip down the sides (making it extra delicious!)
When finished frosting, wait 1-2 minutes to allow it to set up.
During this time I put my chocolate glaze in the microwave to make sure it's really runny.
Using a spoon, drizzle the hot chocolate-heaven glaze over the tops of the maple covered donuts.
OR recently I decided to frost in maple (as usual) then completely cover the tops with chocolate as well.
Wow, so good.  The chocolate gets firm and creates a shell of sorts over the donut; locking the moisture inside.  I've thought about re-covering it with maple, and then more chocolate to create one sugar ball of goodness.  I haven't though, so don't judge me.

Maple Frosting-
2 cups of powdered sugar
a medium sized spoonful of butter
1/2 t. of maple extract
2 TBLS of coconut milk (if you need to add more later you can)

Using an hand mixer beat all ingredients together.  It tastes absolutely wonderful.  Seriously.  I can taste it now! Mmm.


Chocolate Glaze-
3 heaping spoonfuls of powdered sugar
1 small spoonful of cocoa powder (I use Hershey's)
2 tbls of hot coconut milk
1/2 t. grapeseed oil

This chocolate 'syrup' glaze just came
from the fridge - that is why it looks so thick!
Combine the powdered sugar and cocoa powder together in a bowl.  Add the hot milk to the mixture and stir with a spoon until thoroughly combined.  The powder and cocoa will dissolve in the hot milk.  Add the oil and stir until smooth.  To get it even runnier (which is good when your drizzling over donuts) place in the microwave for 15 sec.


I usually make double or triple the maple frosting and chocolate syrup/glaze and store it in the fridge.  It makes it handy when you want to make a quick batch of donuts at midnight (not that I would ever make donuts so late at night...).

Top it all off with a cup of hot green tea, and you are set!


Above is a little video I literally just threw together.  It was video'd on my cell phone which explains the awkward angles and fuzzy features.

Tip:
#1 - If you watch the video you will see that after flipping one donut, I move over to the side for a moment.  I'm actually wiping the goop off of my spoons, it makes it tidier and easier to flip when the spoon is goop-free.
#2 - Lately to make these treats a bit healthier (or to justify my mass eating of them) I have added a heaping spoonful of ground flaxseed meal to the batter.  It adds a wonderful addition of fiber to your treat.

Enjoy the delectable-ness, everyone!  Whoever said being gluten and dairy free had to be tasteless?!

Rachel

Thursday, February 3, 2011

Carrot Cake Bliss

On Facebook I mentioned how I made a gluten-free/dairy-free carrot cake a few days ago.  Well, after indulging… and indulging some more, it became abundantly clear that it was time to make another one.  
First time around I just used a powdered sugar glaze for the top.  This time I planned ahead and made a DF Cream Cheese-esque frosting (YUM)!  The cake recipe is taken from The Gluten-Free Almond Flour Cookbook - by Elana Amsterdam.  BUT - I have altered it a bit.  For instance, I left the raisins out - they’re okay but certainly not my favorite.  I also added a bit more agave nectar (1/3 c vs. 1/4 c).  Last but not least, I added 1/2 tsp of vanilla.  Whenever I make a new recipe I always cut it in half so I know I like it before I use my flour on it.  This recipe was proportioned in the book for a layered cake, so with my revised measurements it makes one 8” round delectable carrot cake!
------------------------------------------
The recipe!
------------------------------------------
Pre-heat oven to 325.
Using grapeseed oil and almond flour, grease and flour a cake pan (I used an 8” round).

 Combine dry ingredients in large bowl
1 1/2 c  Almond Flour
1 tsp   Sea Salt
1/2 tsp  Baking Soda
2 Tbls   Cinnamon
1/2 tsp  Nutmeg

Combine Wet Ingredients in separate bowl
1/8 c  Grapeseed oil
1/3 c  Agave Nectar
2  Eggs
1/2 tsp  Vanilla extract

Whisk the wet ingredients together, then pour onto flour mixture and stir. The batter will be fairly runny.


Fold carrots and walnuts into the batter

 1 1/2 c  Grated or finely chopped carrots
1/2  c  Walnuts


 Scrape batter into prepared greased/floured cake pan
Bake for 30-35 min., until toothpick inserted in the center comes out clean.
::Let cool in pan for an hour::  
For some reason, the bottom always sticks when I make this - next time I’m going to try parchment paper.
-------------------------------------------------
Cream-Cheese-esque Frosting
(Again I halved the recipe)
4oz   Tofutti (tofu based “cream cheese” spread)
1/4 c Dairy free butter/margarine (I used Earth Balance)
2 c   Powdered Sugar
2 Tbls  Coconut Milk (if you’re not worried about being dairy free, of course, you can use whichever milk you’d like)


Blend the Tofutti and “butter” together with a hand mixer, slowly add powdered sugar.  If needed to, add milk one TBLS at a time (you don’t want it to  be too runny!)


THEN ENJOY THE BOUNTY!
(in my opinion it tastes like a yummy, moist, delicious cinnamon roll - that is surprisingly not nearly as bad for you!)


I wasn't patient enough for it to cool completely
-hence the crumbs-


Mmm...
The End.
=D