
Tools and Ingredients necessary-
-An ebelskiver pan. You might be able to get by using something else if you don't want to splurge for one of these neat pans.
-pancake mix - oil (I LOVE grapeseed oil) - an egg - milk - arrowroot flour/starch - cinnamon sugar - maple extract - powdered sugar - butter - fruit preserves/jam.

To be completely honest, while experimenting I never measure my ingredients! I know, I'm sorry. That makes it a bit difficult to write an instructional blog on. I always approximate. But, I would say I used about 1/4 c of arrowroot flour (maybe a bit less, though). And I only put enough milk in to make the batter the consistency of warm pudding. Ha! Great directions, huh?
 In short, you don't want the batter too thick or it will be harder to bake all the way through.
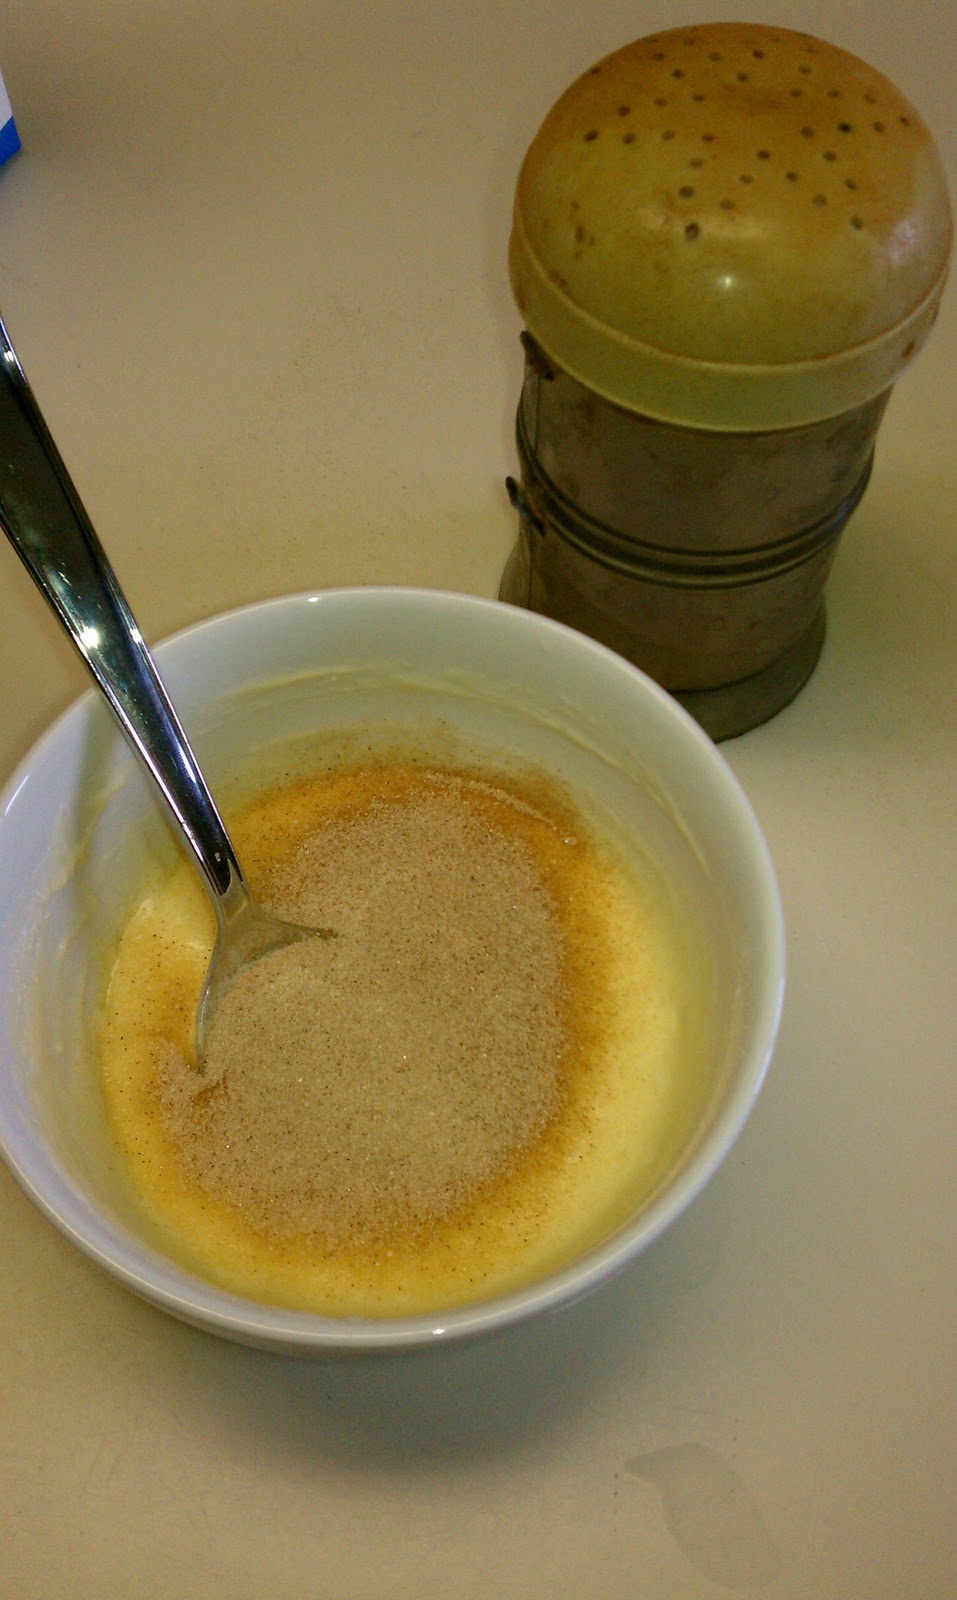
After the pancake batter is made, I shake some cinnamon-sugar into the batter and mix in. I absolutely love cinnamon-sugar, and adding it to the mix makes these taste even more "donut'y".
Step Two: I put my ebelskiver pan on the stove over medium-low heat. Cooking at a lower temp for a longer period of time will help to ensure thorough baking! I put a small scoop of butter into each little 'well' in the pan. This "fries" the batter somewhat, creating even more of a donut illusion. My favorite dairy free butter is made by Earth Balance. It actually tastes like real butter. My mother dared me to eat a spoonful of it, just to be sure, but I declined. I haven't eaten butter by the spoonful since I was 5.
A useful tool during this process is a small cookie dough scooper. It helps keep your donuts relatively the same size. It also keeps everything neat and tidy; no spilling batter all over your pan! Weird as it sounds, I hate cleaning up batter that has dripped on the top of the skillet. Don't ask me why, it just yanks my chain.

Filled Donuts-
Put your little scoops of butter into each section of the pan.
Put a small scoop of batter into the wells of the pan.
Immediately put a tiny dollop of preserves/jam on top of the batter.
Let sizzle for a minute.
Cover each donut with the remaining batter, make sure all the filling is covered.
Let cook for around 10-15 sec until bubbles start forming on the tops of the donut.
Using two spoons, flip each donut in the pan. It is tricky at first, but after doing it over and over, you'll get the hang of it!
Leave donuts cooking in the skillet until all the sides have darkened.
Place onto a plate/serving dish and let cool for 5-10 minutes.
Dust the tops with powdered sugar and enjoy!
Maple/Chocolate Donuts- These are my personal favorite. I've actually dreamed about these donuts. And I wrote a love sonnet dedicated to them, as well. Totally kidding. Maybe.
Put scoops of the pancake batter into each, liberally buttered well of the pan. The batter should come just shy of reaching the top of the well.
I sprinkle the tops with cinnamon-sugar. Why not, right?
When bubbles start forming on the top of the donut, you know it is time to flip.
As I said for the filled donuts, make sure that all the sides look darkened and thoroughly cooked. The tops should be fairly hard. I always tap them with my spoon to make sure it is done enough.
Remove from the skillet and place on a plate.
Immediately cover with maple frosting. It will melt and drip down the sides (making it extra delicious!)
When finished frosting, wait 1-2 minutes to allow it to set up.
During this time I put my chocolate glaze in the microwave to make sure it's really runny.
Using a spoon, drizzle the hot chocolate-heaven glaze over the tops of the maple covered donuts.
OR recently I decided to frost in maple (as usual) then completely cover the tops with chocolate as well.
Wow, so good. The chocolate gets firm and creates a shell of sorts over the donut; locking the moisture inside. I've thought about re-covering it with maple, and then more chocolate to create one sugar ball of goodness. I haven't though, so don't judge me.
 Maple Frosting-
2 cups of powdered sugar
a medium sized spoonful of butter
1/2 t. of maple extract
2 TBLS of coconut milk (if you need to add more later you can)
Using an hand mixer beat all ingredients together. It tastes absolutely wonderful. Seriously. I can taste it now! Mmm.
Chocolate Glaze-
3 heaping spoonfuls of powdered sugar
1 small spoonful of cocoa powder (I use Hershey's)
2 tbls of hot coconut milk
1/2 t. grapeseed oil
 |
| This chocolate 'syrup' glaze just came from the fridge - that is why it looks so thick! |
I usually make double or triple the maple frosting and chocolate syrup/glaze and store it in the fridge. It makes it handy when you want to make a quick batch of donuts at midnight (not that I would ever make donuts so late at night...).
 |
| Top it all off with a cup of hot green tea, and you are set! |
Above is a little video I literally just threw together. It was video'd on my cell phone which explains the awkward angles and fuzzy features.
Tip:
#1 - If you watch the video you will see that after flipping one donut, I move over to the side for a moment. I'm actually wiping the goop off of my spoons, it makes it tidier and easier to flip when the spoon is goop-free.
#2 - Lately to make these treats a bit healthier (or to justify my mass eating of them) I have added a heaping spoonful of ground flaxseed meal to the batter. It adds a wonderful addition of fiber to your treat.
Enjoy the delectable-ness, everyone! Whoever said being gluten and dairy free had to be tasteless?!
Rachel